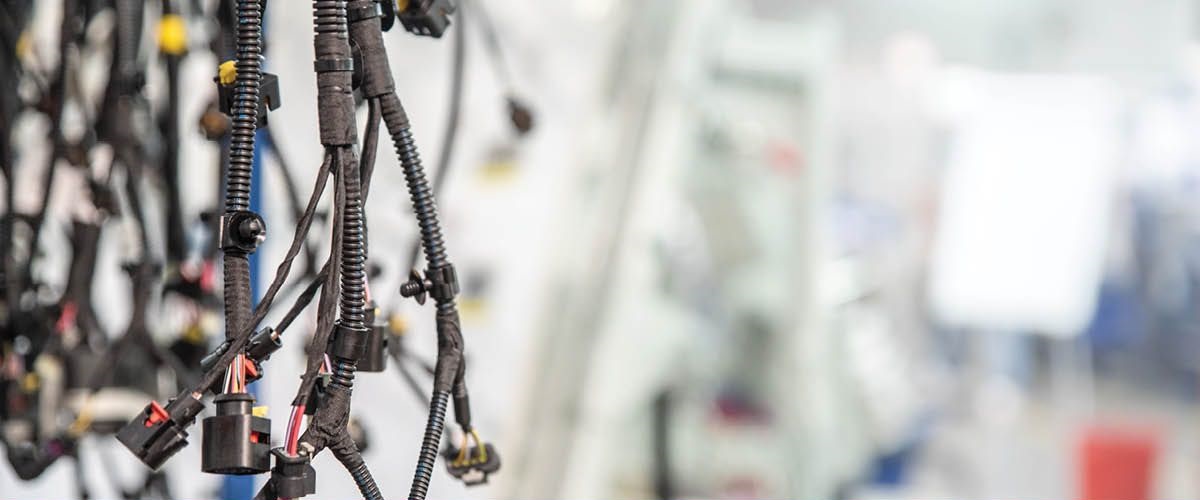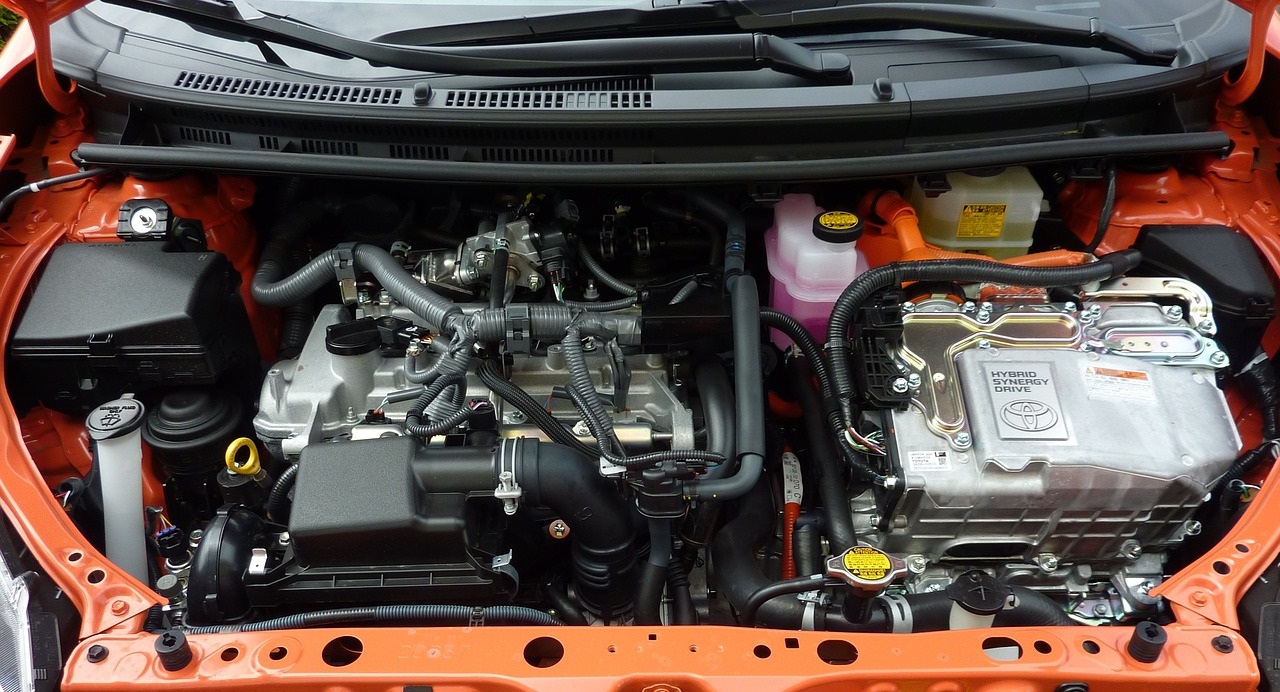
Automotive wire harnesses are critical components in a vehicle's electrical system, responsible for connecting and transmitting power and signals between various electrical components. Over time, wire harnesses may experience wear and damage, necessitating proper repair or replacement. In this blog post, we will explore essential guidelines and steps to ensure the correct repair and replacement of automotive wire harnesses. By following these practices, you can maintain the integrity of your vehicle's electrical system, prevent potential issues, and ensure reliable performance.
Before diving into the repair and replacement process, it's important to understand the structure and components of an automotive wire harness. A wire harness consists of a bundle of electrical wires, connectors, terminals, protective sleeves, and other necessary components. These components work together to facilitate efficient power and signal transmission throughout the vehicle.
The first step in the repair or replacement process is identifying any issues with the wire harness. Common signs of wire harness problems include intermittent electrical failures, damaged insulation, exposed wires, or physical damage. Thoroughly inspect the harness, paying attention to areas prone to wear, such as engine compartments, door openings, and areas susceptible to moisture or extreme temperatures.

Minor wire harness issues can often be repaired without the need for a full replacement. Repair procedures involve:
3.1 Cleaning and Debris Removal: Remove any dirt, debris, or corrosion from the connectors and terminals using a suitable electrical contact cleaner.
3.2 Splicing and Soldering: If a section of the wire harness is damaged, it may require splicing and soldering. Cut out the damaged section, strip the wire ends, and connect them using solder and heat-shrink tubing. Ensure proper insulation and secure connections.
3.3 Terminal Replacement: Faulty or damaged terminals can be replaced by carefully removing the old terminal, stripping the wire end, and crimping or soldering a new terminal.
In cases where the wire harness damage is extensive or the repair is not feasible, a complete replacement is necessary. The replacement process involves:
4.1 Documenting and Disconnecting: Before removing the old wire harness, take clear photographs or make notes to document the routing and connections. Disconnect the wire harness from all electrical components, ensuring you don't damage any surrounding parts.
4.2 Removing the Old Harness: Carefully remove the old wire harness, ensuring you don't cut or damage any wires that may still be in use. Follow the documented routing and disconnect any retaining clips or fasteners.
4.3 Installing the New Harness: Install the new wire harness by routing it through the same paths as the original harness, making sure it avoids any potential hazards or sources of damage. Reconnect the harness to all electrical components, following the documented connections.
4.4 Testing and Validation: After the installation, perform thorough testing to ensure proper functionality of all electrical systems connected to the wire harness. Check for any loose connections, shorts, or abnormalities. Conduct a final inspection to verify proper routing, securing, and protection.

When dealing with automotive wire harnesses, safety should be a priority. Always disconnect the battery and follow proper handling procedures to prevent injury or damage. In complex cases or if you're unsure about your abilities, it's advisable to seek professional assistance from a qualified automotive technician or electrician.
Properly maintaining and repairing automotive wire harnesses is crucial for ensuring the optimal performance and reliability of a vehicle's electrical system. By following the guidelines outlined in this blog post, you can identify wire harness issues, perform effective repairs, and execute.
Any questions, feel free to Contact us now:
Website: https://www.typhoenix.com
Email: info@typhoenix.com
Contact: Vera
Mobile/WhatsApp: 0086 15369260707

Post time: Jul-11-2023

