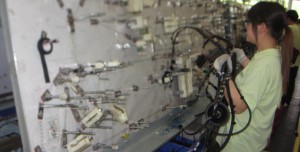
Wire harnesses are used for signal and power transmission in various applications in automotive systems. With the continuous expansion of the automotive market and the increasing demand for wiring harnesses, do you understand the assembly process of automotive wiring harnesses? What material is used to bind the wiring harness after assembly? This article provides insights into this process, and so on.
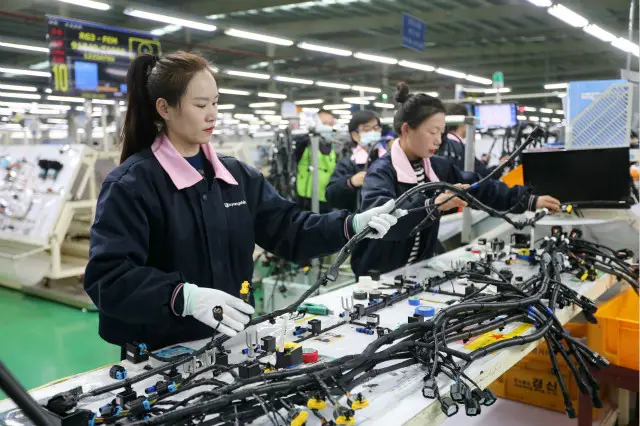
Due to different designs, the assembly process of wiring harnesses can be simple or complex. The following are several common steps involved.
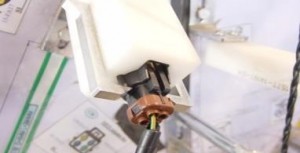
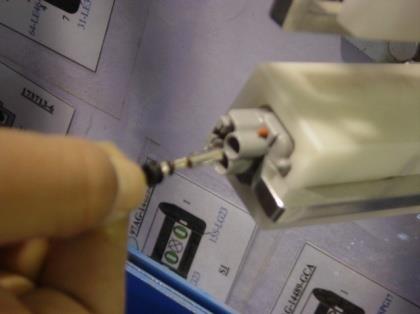
Inserting the wire seal plugs, locating clip, etc. into the connector before Assembly line.
Operation method:
1.1 Install the retaining clip directly into the slot of the connector,It usually makes a clear sound when it is in place. Also check the retaining clips for damage.
1.2 Install the plug or rod directly into the hole position required by visual aid.
1.3 Use the plug tool to squeeze the plug into place.
1.4 Put the pre-assembled semi-finished products into the designated material box.
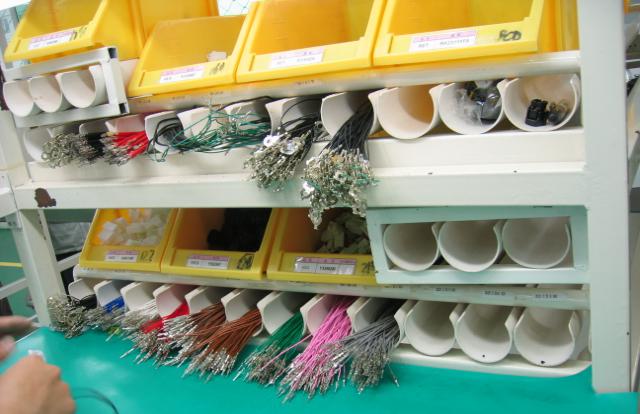
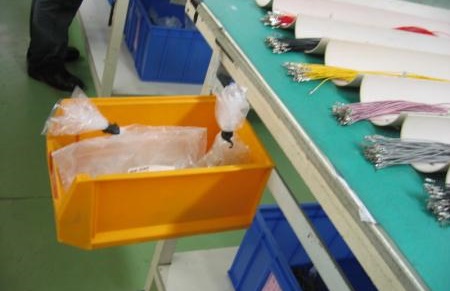
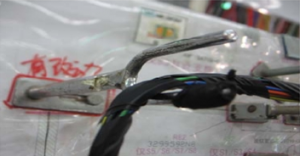
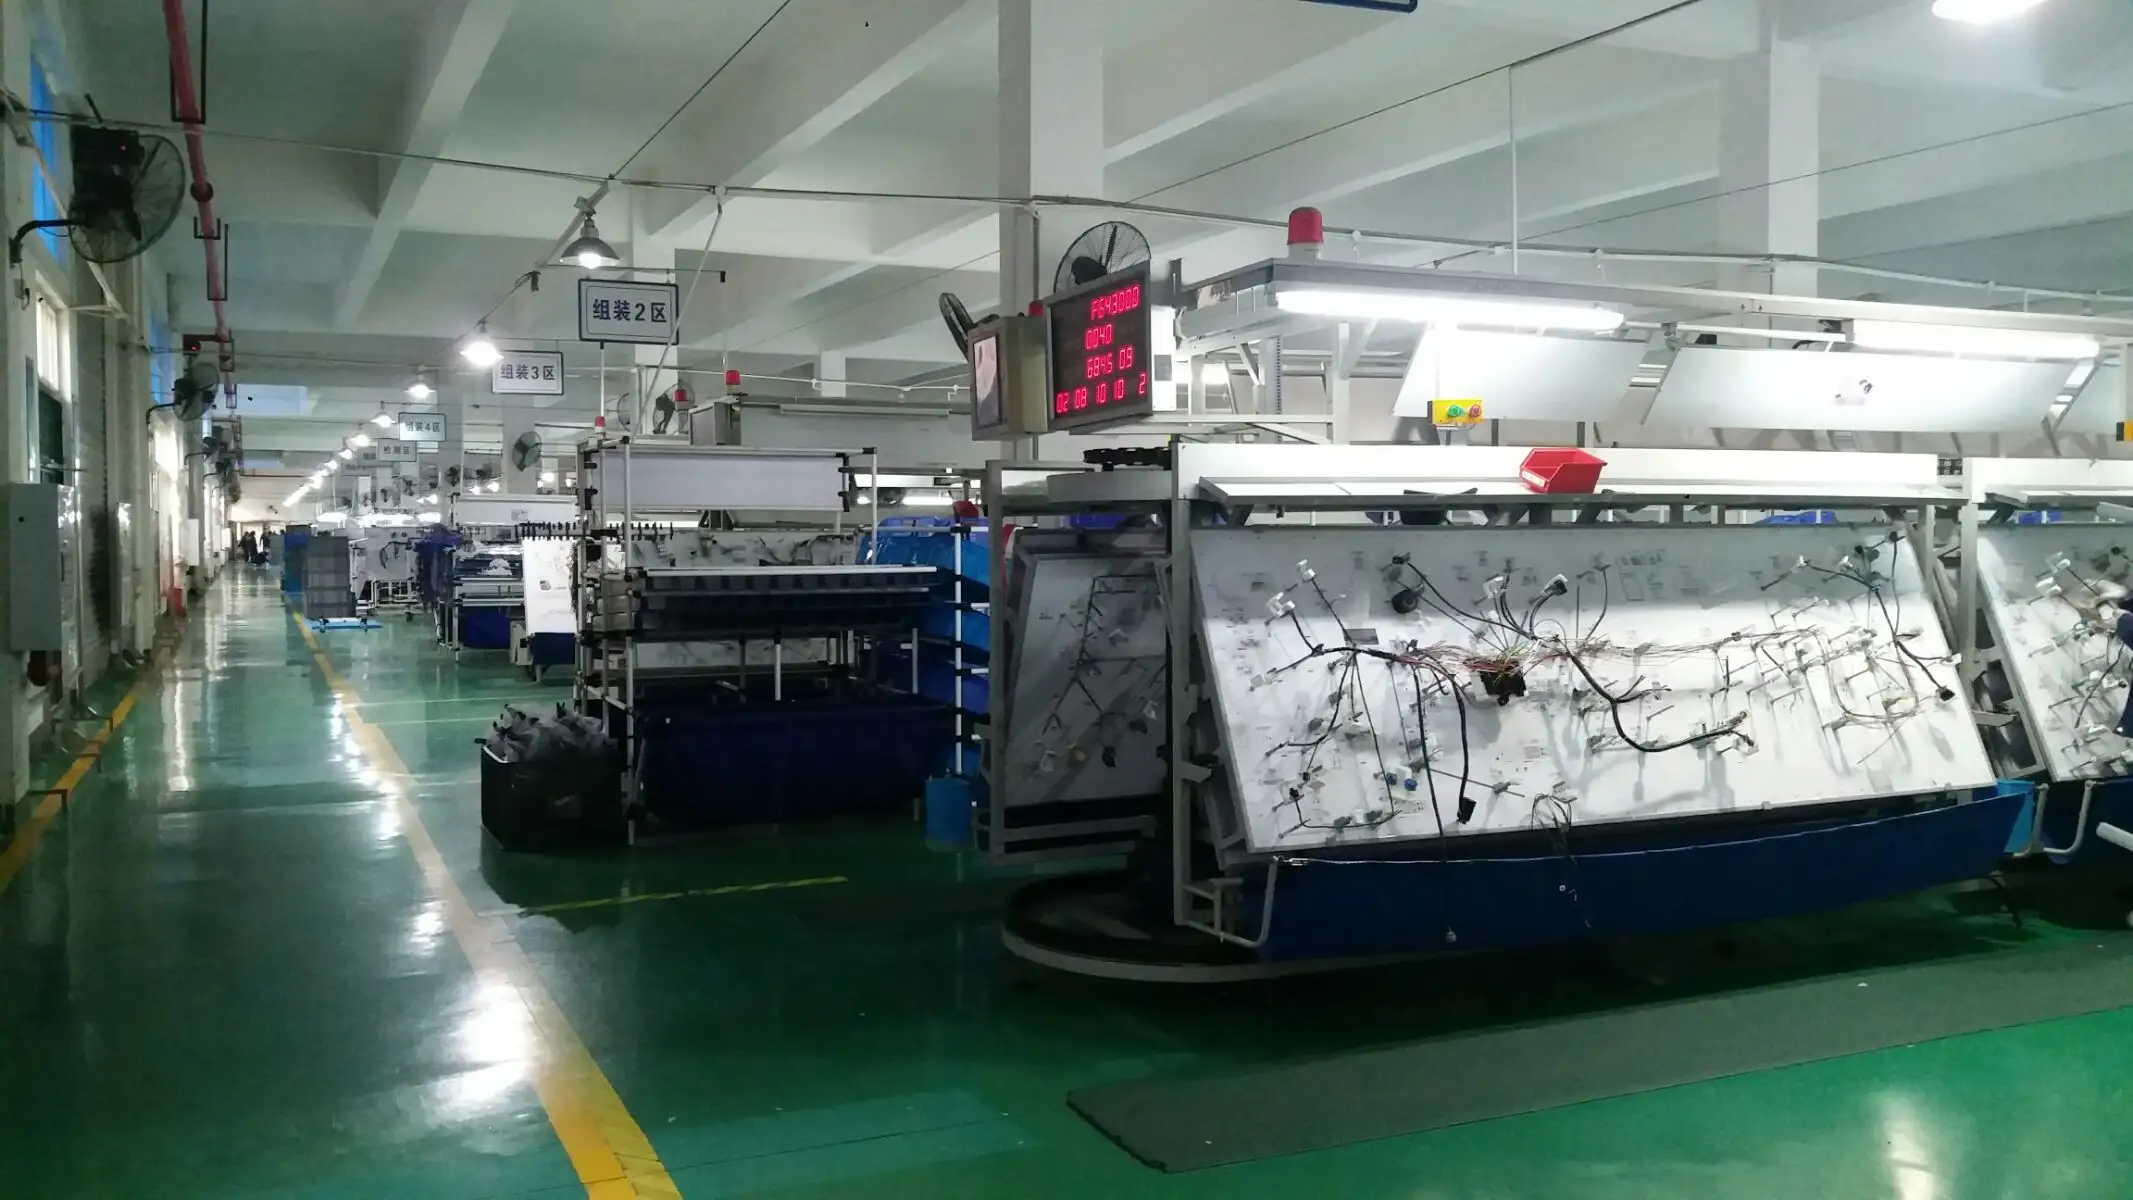
Hang the pre-assembled wires on the tooling board clevis pin according to the sequence marked on the wiring card.
Operation method:
2.1 According to the order marked on the wiring card, hang the pre-assembled wires on the tooling board clevis;
2.2 Clamp the wire without grommet on the other end to the nylon fastener on the fork nail, and do not wind it on the fork nail;
2.3 When wiring, the wires shall be leveled to avoid knotting, winding, etc
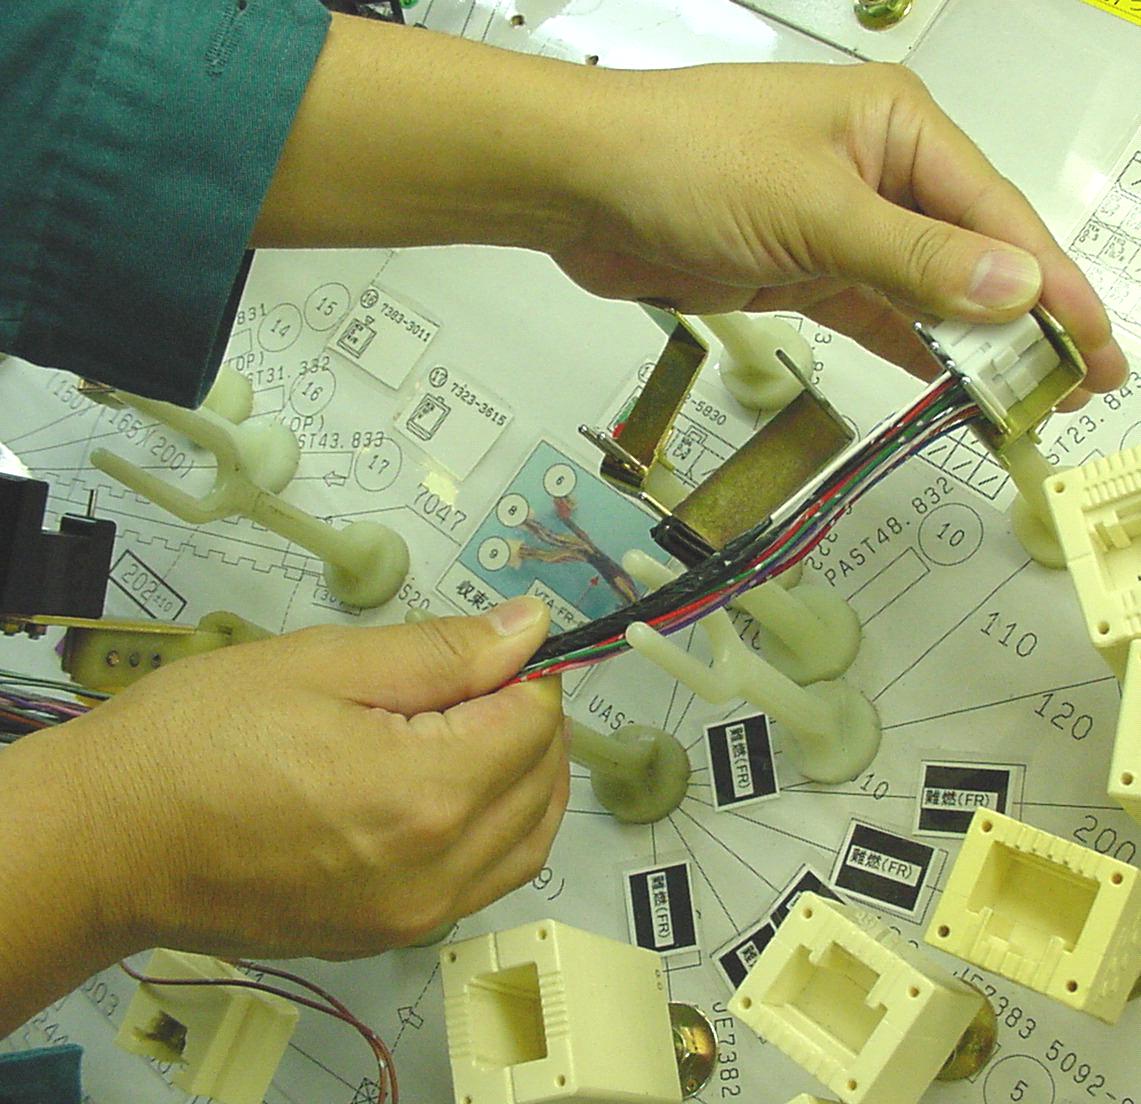
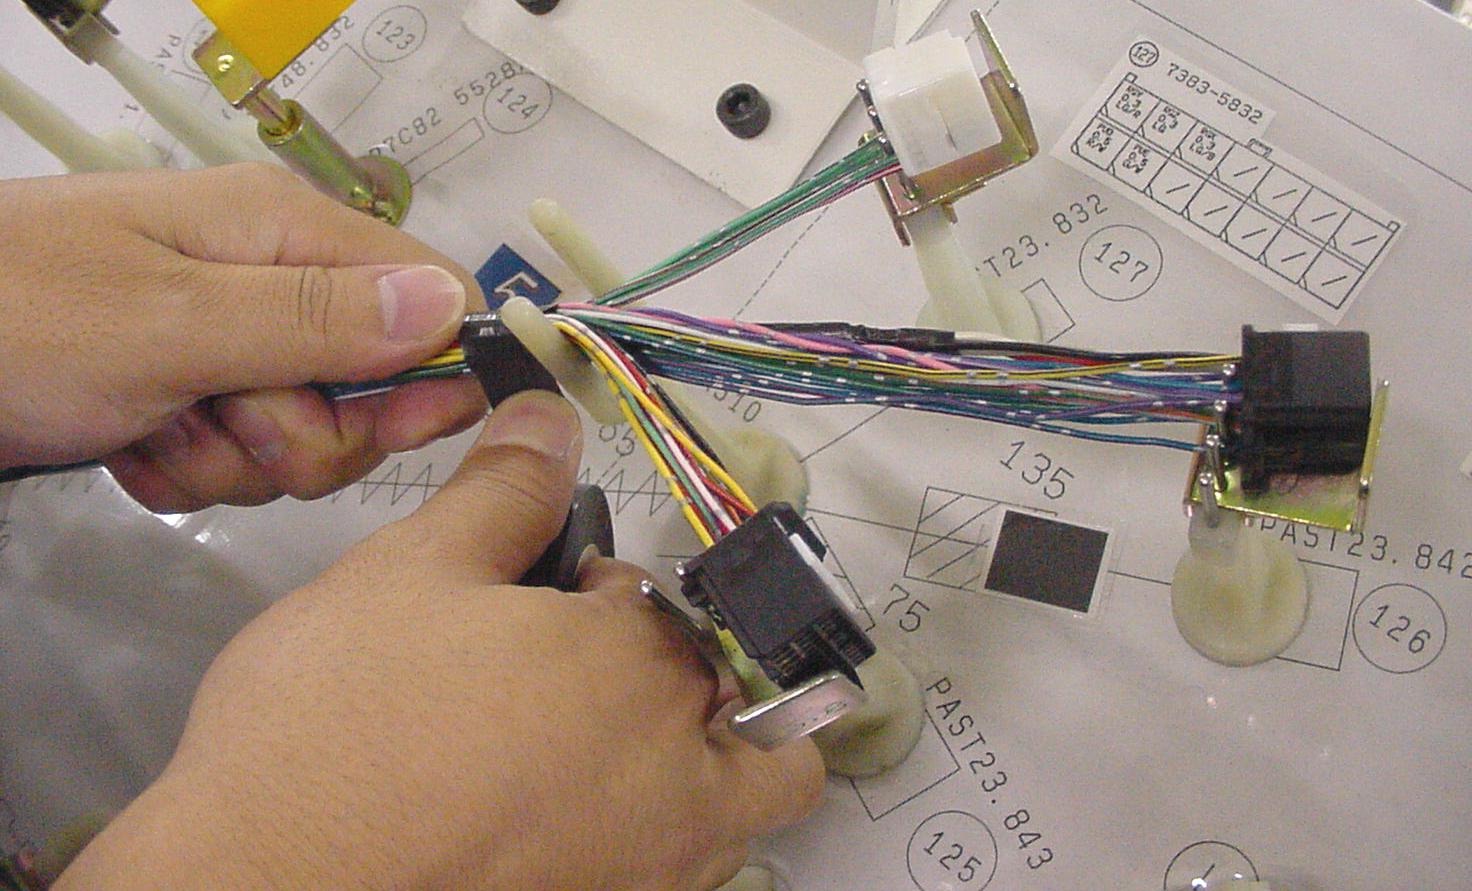
The process of inserting the branch with terminals through the closed tube, rubber grommet, etc., and then into the connector. This is often synchronized with the Assembly line.
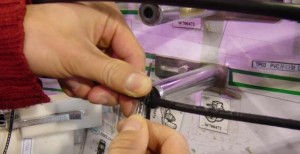
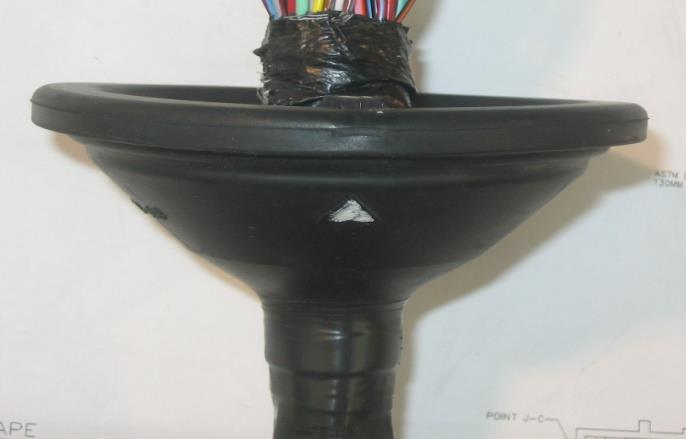
3.1 Operation method of installing the closed tube and rubber grommet :
3.1.1 The branch passes through the closed tube and grommet before inserting into the connector.
3.1.2 Thread the grommet with an expander. The expander can be divided into: expanding pliers, channels, grommet tooling, etc.
3.1.3 The direction must be correct.
3.1.4 Wrap the grommet tail with tape for more than 3 times.
3.1.5 If the harness needs to be glued, the grommet must be installed in place.
3.1.6 After the expansion installation of the grommet, it is necessary to check whether the grommet is intact.
3.1.7 Install the closed tube and grommet , taking care not to damage the terminals. After the branch passes through the closed tube and grommet, the terminals must be checked.
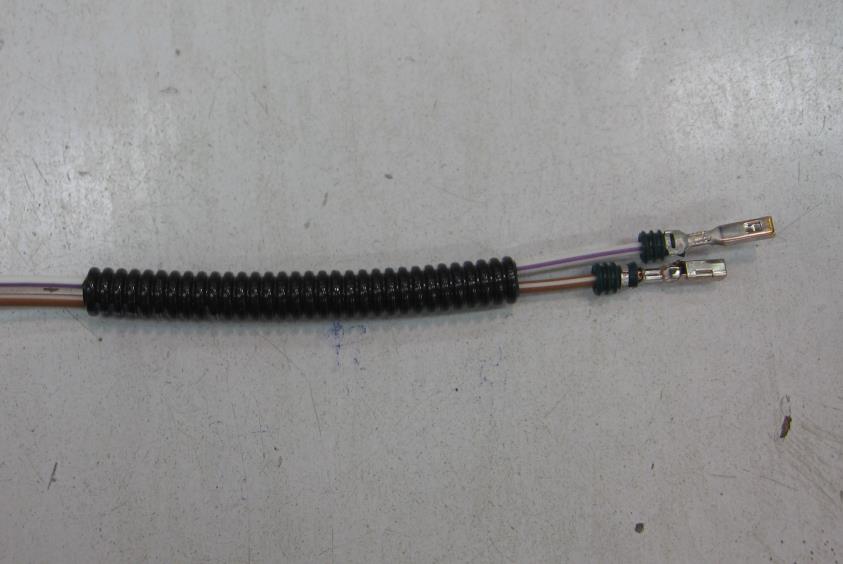
3.2 Operation method of inserting terminals:
3.2.1 Take the connector and check whether the locking lug is open.
3.2.2 Observe whether the connector is waterproof to determine whether the terminal is provided with a sealing plug.
3.2.3 Take the branch circuit and check whether the terminal and wire are damaged at the same time.
3.2.4 Observe the hole shape, hole size and hole depth of the connector to identify the approximate shape of the terminal.
3.2.5 Observe the locking mechanism inside the connector hole and the locking part of the terminal to determine the direction of inserting the terminal.
3.2.6 Some connectors have a guide slot in the hole to insert the terminal.
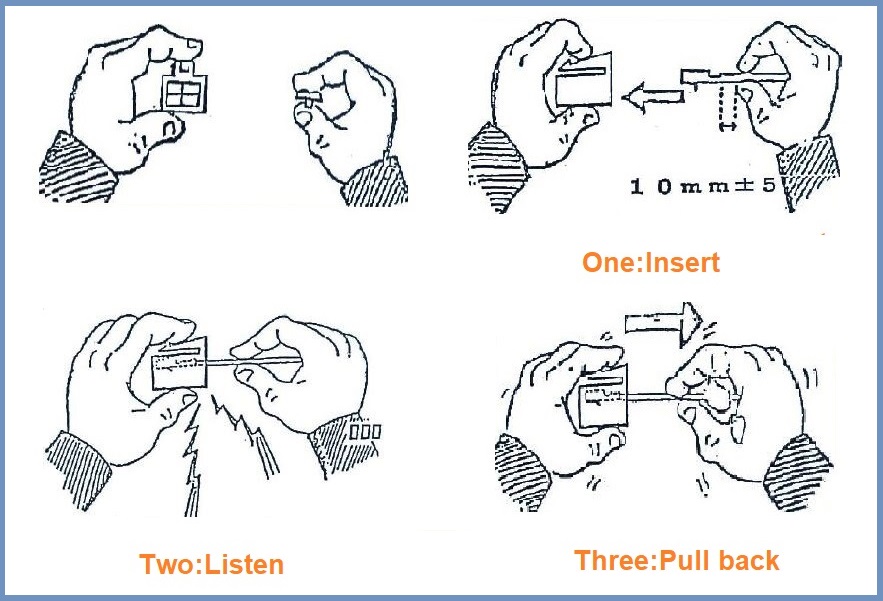
3.2.7 Plug the terminals According to “One: Insert. Two: Listen. Three: Pull back.", please ensure the brush direction is consistent for the same terminals in the same direction of the connector.
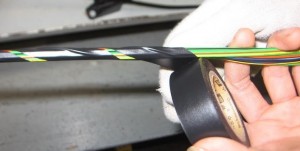
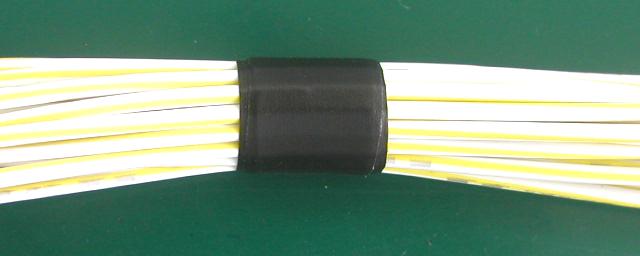
Wrap the tapes on the wire harness as required. Sometimes it is also necessary to install various opening pipes on the harness, then fix and twist around the PVC Sleeving, Convoluted Tubing, etc. with tapes.
4.1 Operation method of wrapping harness:
4.1.1 Full wrapping
1/3 or 1/2 of the tape shall be overlapped and the overlapping rate shall not exceed 50%.
4.1.2 Spacing wrapping
The tape winding spacing shall not be greater than the self width of one tape, and 1/2 is the best.
4.1.3 Spot wrapping
The tape is overlapped and wound at 300% of the origin of the harness. Identification belongs to point wrapping.
4.1.4 Cross wrapping
Cross winding the tape around the harness branch nodes or special positioning clips, which shall be firmly fixed without wire leakage.


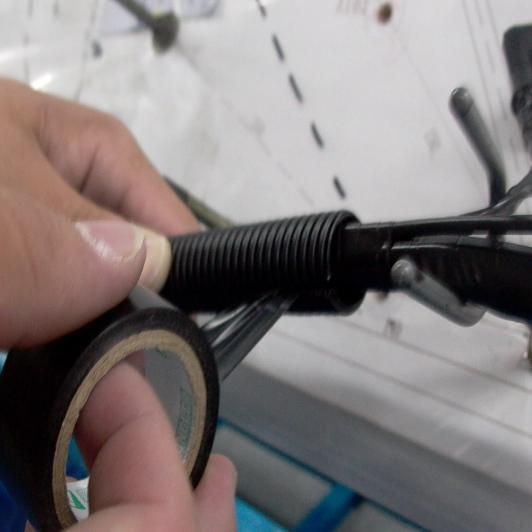
4.2 Operation method of wrapping Convoluted Tubing:
4.2.1 Wrap tape around the wire first.
4.2.2 Insert the open end of the convoluted tubing into the adhesive tape, and then wrap 3 to 4 turns along the end of the convoluted tubing and the wire together.
4.2.3 The other end shall be tied after the convoluted tubing is straightened according to the principle that the bellows does not move. The method is the same.
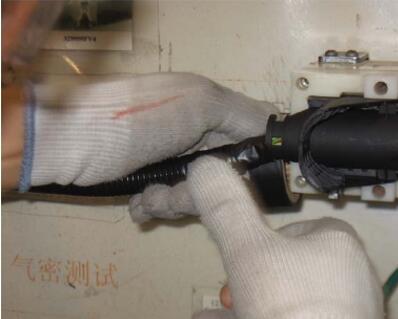
Install the clips and ties according to the locating clip clamp on the assembly plate and fix it on the harness.
Operation requirements:
5.1 Select the correct clip, which must be fixed on the wire harness firmly and cannot be moved.
5.2 The direction is correct.
5.3 The dimensional tolerance between adjacent locating clips is ± 5mm.
5.4 The additional accessories on the locating clip must not be lost.
5.5 Positioning clip with tie: after fixing, cut off the tail of the tie with a tie gun, leaving 1-2 teeth.
5.6 Positioning clip without tie: it is fixed with adhesive tape in two ways: point winding and cross winding, and it must be firmly wound.
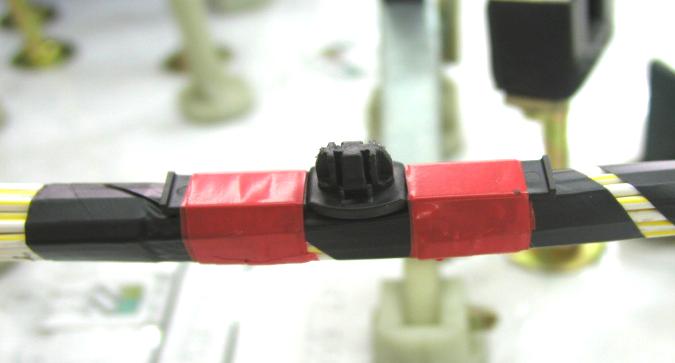
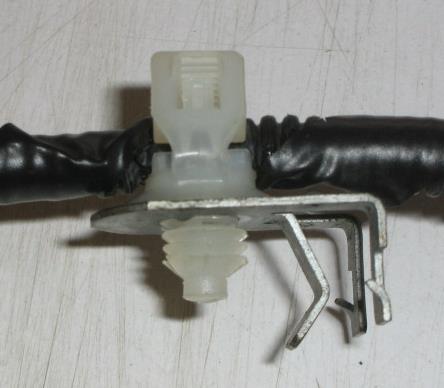
After the wire harness is assembled on the assembly board, take out the connectors and clips from the fixture tools.
Operation requirements and precautions:
6.1 Loosen the clamp and take out the connector from the clamp.
6.2 When taking out, avoid the connector from being damaged by the clamp hook.
6.3 Avoid branches from being caught by forks or falling to the ground.
Post time: May-16-2023


